This is continuation of Syn s
Special Day 1 setup. I forgot to mention i did a bit of customization and swapped the tone knobs of the Syn Custom to the Syn Special. I think it looks more badass. Also the Syn special has Syns signature on the back of the headstock, whereas the Syn Custom does not. Very interesting aesthetic choice.
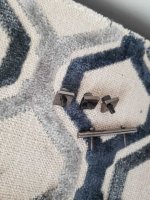
Anywho I removed the metal bar just below the machineheads where the strings are threaded through.
removed the locking nuts
inserted a xbox 360 battery pack(its a perf fit) under the floating bridge to raise the bridge ( you must have something under the bridge in the bored out space below the floating bridge otherwise the springs will pull it very hard into that space, making it impossible to change the strings)
Removed the strings now that they werent under stress. much safer this way
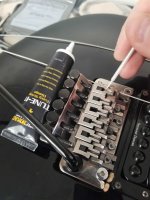
Used FLITZ metal polish to polish the bridge (sort of a success and i wasnt gonna take apart the FR to polish it piece by piece lol)
Polished the Body
Polished the frets
Oiled the frets with BORE oil
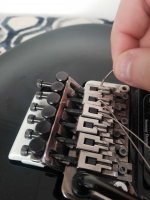
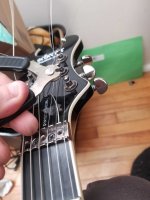
Clipped the ends of the strings to insert the strings into the bridge
Tightened them all into the bridge and did pull tests on each string to ensure their secured positions (it suuucks when you remove the battery and the strings pop out of the saddles)
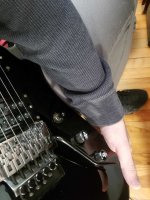
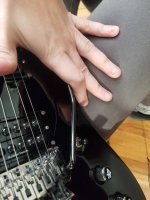
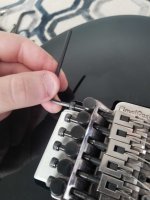
wound each string on its corresponding peg and tightened with the drill as seen in the pics
Stretched each string individually and then dippped and dived the bridge with the trem bar until the string no longer came out of tune
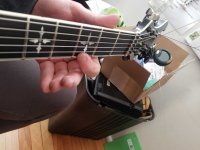
Checked intonation, string height, playability, buzziness (hardly any), bridge float.
Reattached locking tuners
Reattached the metal bar
Clipped the excess string atop the headstock
Checked the tuning one more time
Marveled at its beauty and the good job i did
Hung it up upon the wall.
Attachments
-
 20220122_122418.jpg591.7 KB · Views: 327
 -
 20220122_142756.jpg757.2 KB · Views: 334
 -
 20220122_121501.jpg459.2 KB · Views: 315
 -
 20220122_142747.jpg642.6 KB · Views: 312
 -
 20220122_120857.jpg624.5 KB · Views: 312
 -
 20220122_143304.jpg432.4 KB · Views: 318
 -
 20220122_121252.jpg363 KB · Views: 318
 -
 20220122_142724.jpg486.7 KB · Views: 316
 -
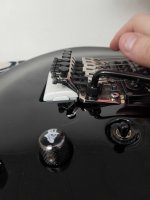 20220122_120943.jpg385.1 KB · Views: 348

